Upstash
Upstash provides a serverless Redis database, which can be used as a key-value store of up to 1mb with a free account.
Create an Upstash account
Go to https://console.upstash.com/login
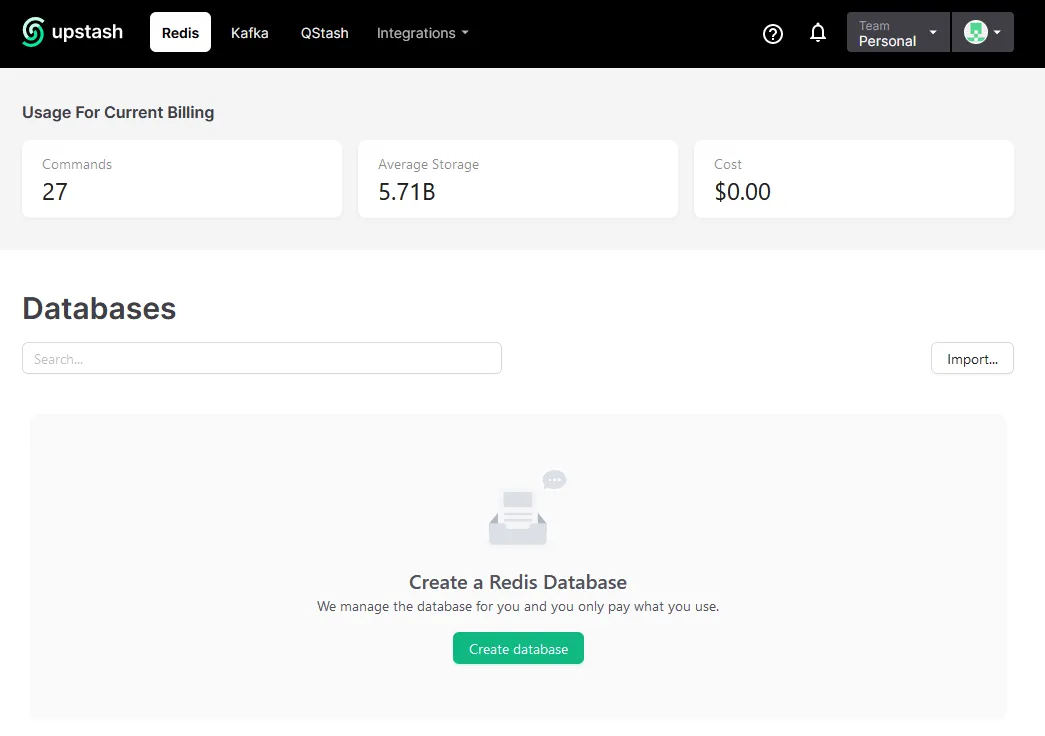
Create a database
- Click Create database
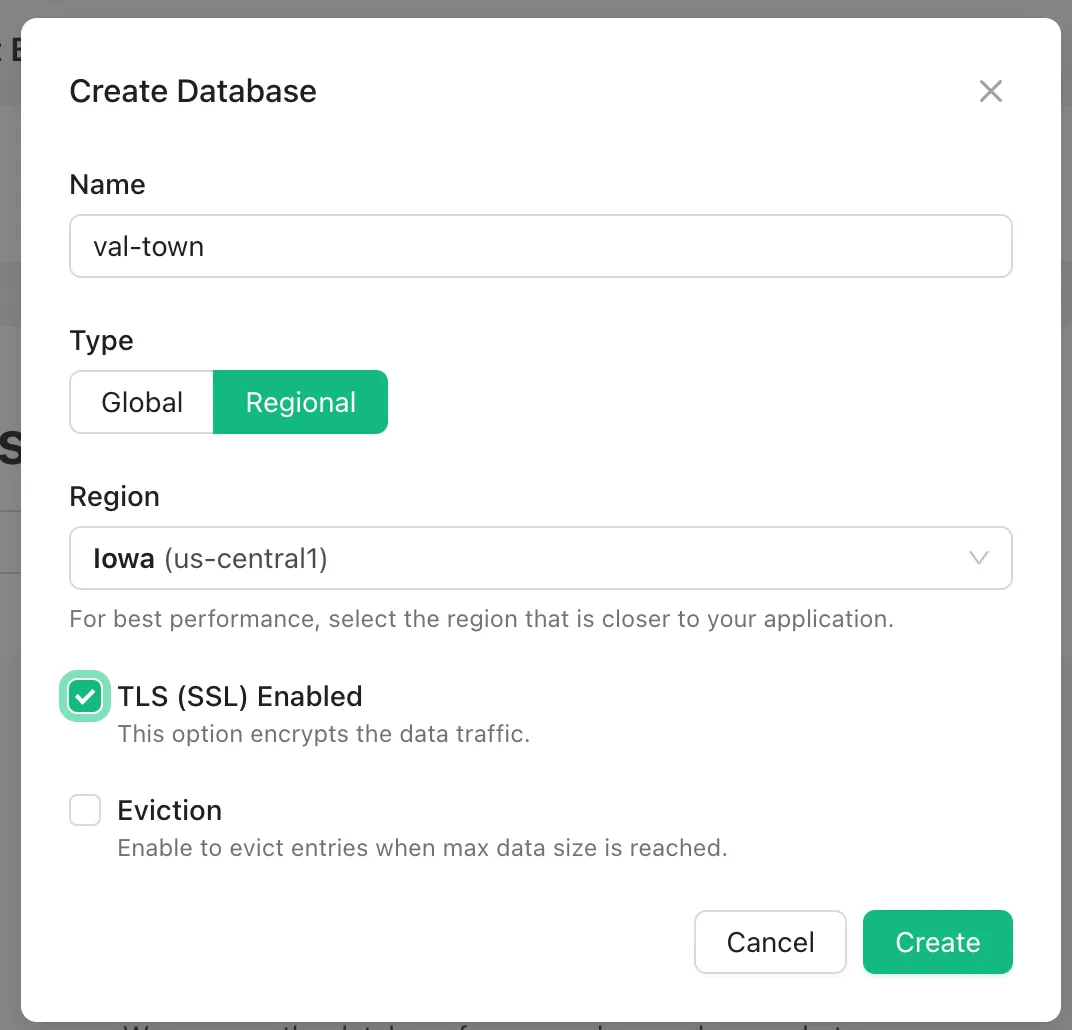
- Name: whatever you want.
- Type: Regional
- Region: Iowa (us-central1), because it’s closest to Val Town’s servers.
- Enable TLS for security.
Add REST credentials to Val Town environment variables
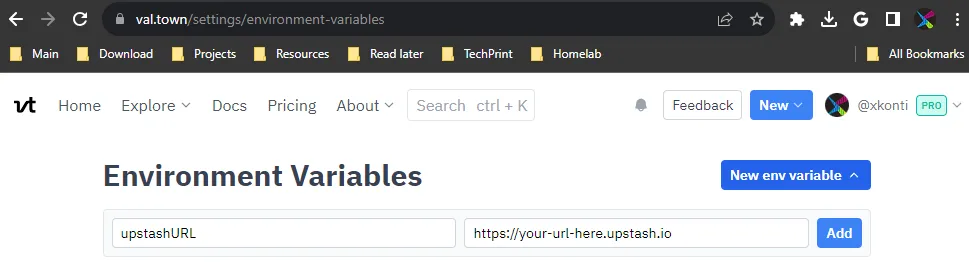
- Go to val.town/settings/environment-variables
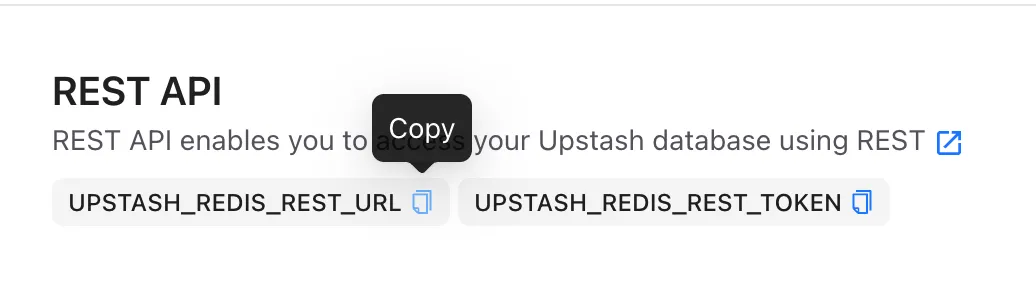
- For
UPSTASH_REDIS_REST_URLand theUPSTASH_REDIS_REST_TOKENeach:- Click New env variable.
- Set the names to
upstashURLandupstashToken, respectively - Copy & paste in the value
- Click Add
Upstash:
Val Town:
Set some data
If you set it up correctly, you should be able to copy & paste this Val and have it return the same results from your own Upstash database
import process from "node:process";
export const upstashEx = (async () => { const { Redis } = await import("npm:@upstash/redis"); const redis = new Redis({ url: process.env.upstashURL, token: process.env.upstashToken, }); console.log(await redis.set("foo", "bar")); console.log(await redis.get("foo"));})();Saving JSON
JSON is automatically stringified and parsed so you can set it and get it directly. You can store a JSON object of up to 1mb this way with a free acount.
import process from "node:process";
export const upstashJSONEx = (async () => { const { Redis } = await import("npm:@upstash/redis"); const redis = new Redis({ url: process.env.upstashURL, token: process.env.upstashToken, }); await redis.set("json-ex-1", { a: { b: "nested json" } }); return ((await redis.get("json-ex-1")) as any).a.b;})();Further resources
Thanks to @mattx for contributions to this resource!